Sump pumps are semi-permanent equipment installed in our homes. So, replacing them can sometimes feel challenging. Luckily, there are many ways you can do this task on your own. Here are some things you first need to consider before replacing your sump pump:
- Make sure to buy a sump pump whose size is compatible with your sump basin.
- Consider the depth of your basement. This factor will decide the necessary horsepower for sump pumps that you should look for.
- Although not always necessary, getting a newer model of your old sump pump can significantly benefit you.
- Take into consideration issues that you may have faced with your old sump pump. Experienced plumbers can help you find a new one that can help address these issues.
Installing a new sump pump may feel daunting, but I assure you that it is way easier than when you first installed one. After you have taken these factors into account, you may now proceed to install your sump pump.
Waterproofing Basement Seattle
How To DIY Your Replacement Sump Pump
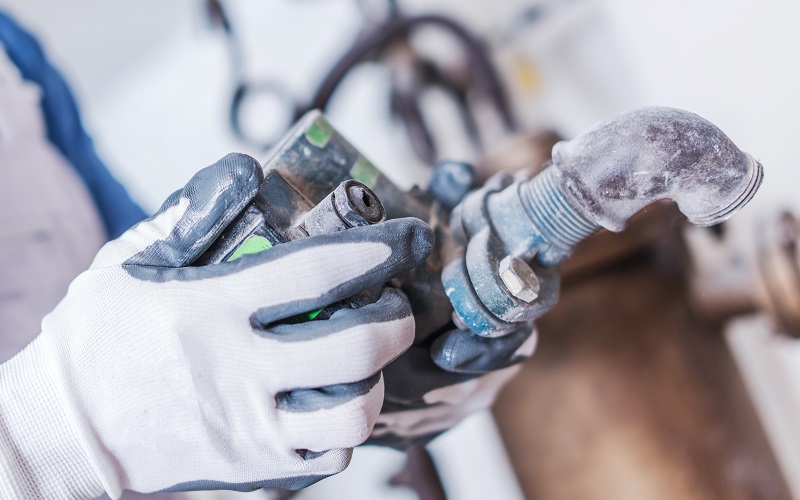
Sump pumps are incredibly reliable. You can just leave them for years without having to worry about them. But before you can enjoy its reliability, you have to be sure to install them correctly. Here are the steps you will take in installing your own sump pump at home:
- Turn off your main power supply to your basement. Although unplugging your sump pump may be enough. Taking extra precautions never hurt anyone. If too dark, use a flashlight or lamp to illuminate your surroundings.
- Remove your sump basin’s cover.
- Use a wrench to disconnect your sump pump from your discharge pipe carefully. You can also use a hack saw to cut the discharge pipe.
- If you decide to cut your discharge pipe, measure the distance from your discharge pipe to where your sump basin is. Take into account the extra length you’ll need to connect the pump to the discharge pipe. Most pumps use 1 ½ or 1 ¼ inch PVC pipes.
- Connect the sump pump to the new pipe you have just cut. You can use a thread seal tape or Teflon tape to seal the connection properly.
- Insert your new sump pump into your sump basin. Be careful not to slam the hanging pipe onto any wall, or you may compromise the connection.
- Connect the new pipe to the discharge pipe using the appropriate pipe fittings (i.e., Male adapter). Use a PVC glue to seal any possible holes between the two pipes.
- Lower the new sump pump into the pit. Make sure the pump isn’t leaning against the basin’s walls, entangled in wiring, or too close to the back-up sump pump or its float switch.
- Double-check if the sump pump is leveled correctly and well-secured at the bottom of the sump basin.
- Check the position of the pump’s float switch. Any obstructions that will impede its movement may cause a malfunction of inefficiency.
- Turn on your power supply and test if your sump pump is working and installed correctly. Fill a bucket with an ample amount of water, then pour it into the sump basin. Check if the motor switches on and off at the correct water-level.
- Inspect your discharge pipes for any leaks and seal them with a sealant if you find any.
Your sump pump is your best defense against a flooded basement. Installing them correctly is something that you should always practice. The last thing you would want is for it to malfunction during the worst time, for instance, during a storm.
If you want to be 100% sure that your sump pump is correctly installed, we recommend that you get the help of an expert plumber. We at Permadry Waterproofing Seattle offer top-notch sump pump installation services. We can also help you with you other waterproofing needs, such as internal and external drainages. Contact us now to learn more!